Hosting a Blog Using Github Pages and Jekyll for Free

On today’s blog post I’ll guide you through the steps I took to create this site using github pages, Jekyll and the Minimal Mistakes theme. In just a matter of minutes you should be able to launch your site and start blogging.
One of the many advantages of hosting with github pages is that it’s free! Another amazing benefit is that you get free out of the box https support if you decide to use your own domain.
I want to give a shout out to the rock star Android developer Manuel Vivo for inspiring me to launch this site!
Thanks! Yes, it's powered by Jekyll using the jasper2 theme deployed to GitHub actions and a custom Google domain :)
— Manuel Vivo (@manuelvicnt) December 4, 2020
Prerequisites
This blog post assumes you are familiar using git, github and the command line.
For creating and editing posts I use Sublime Text and the MarkdownEditing package, which I will cover how to setup in this guide.
If you want to use your own domain like franciscovelazquez.com and do not have one, I highly recommend using Hover for purchasing domains. If by any chance you are using GoDaddy (how dare you) know that hover has a feature to automatically transfer your domain.
What is jekyll?
Jekyll is a powerful and easy to use static site generator that works with github pages. It lets you write posts in markdown and does the conversion to a static html site for you!
Jekyll offers many themes to make your site feel like your own, but do note that github pages only supports a limited amount of themes.
I decided to go with the Minimal Mistakes theme because of it’s simplicity and quick setup.
First step: copy the template
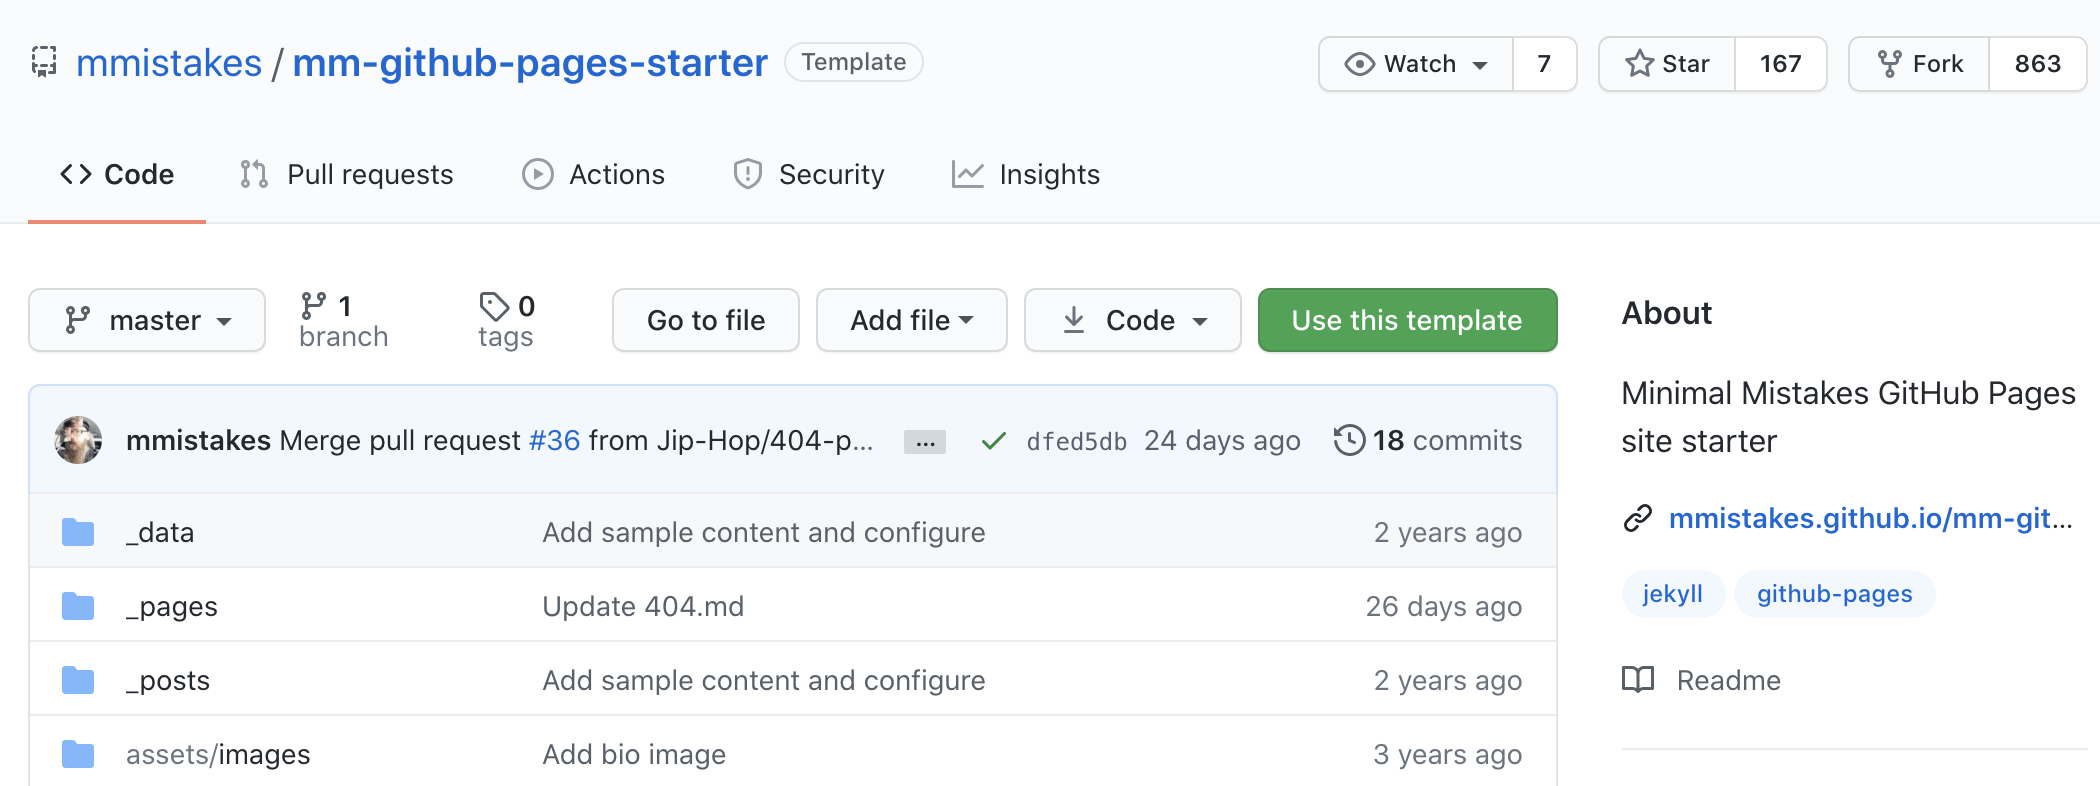
The minimal mistakes jekyll theme offers a template that you can use to get started right away.
From the template github repository here click on “Use this template” button (you must be logged into Github for this to work).
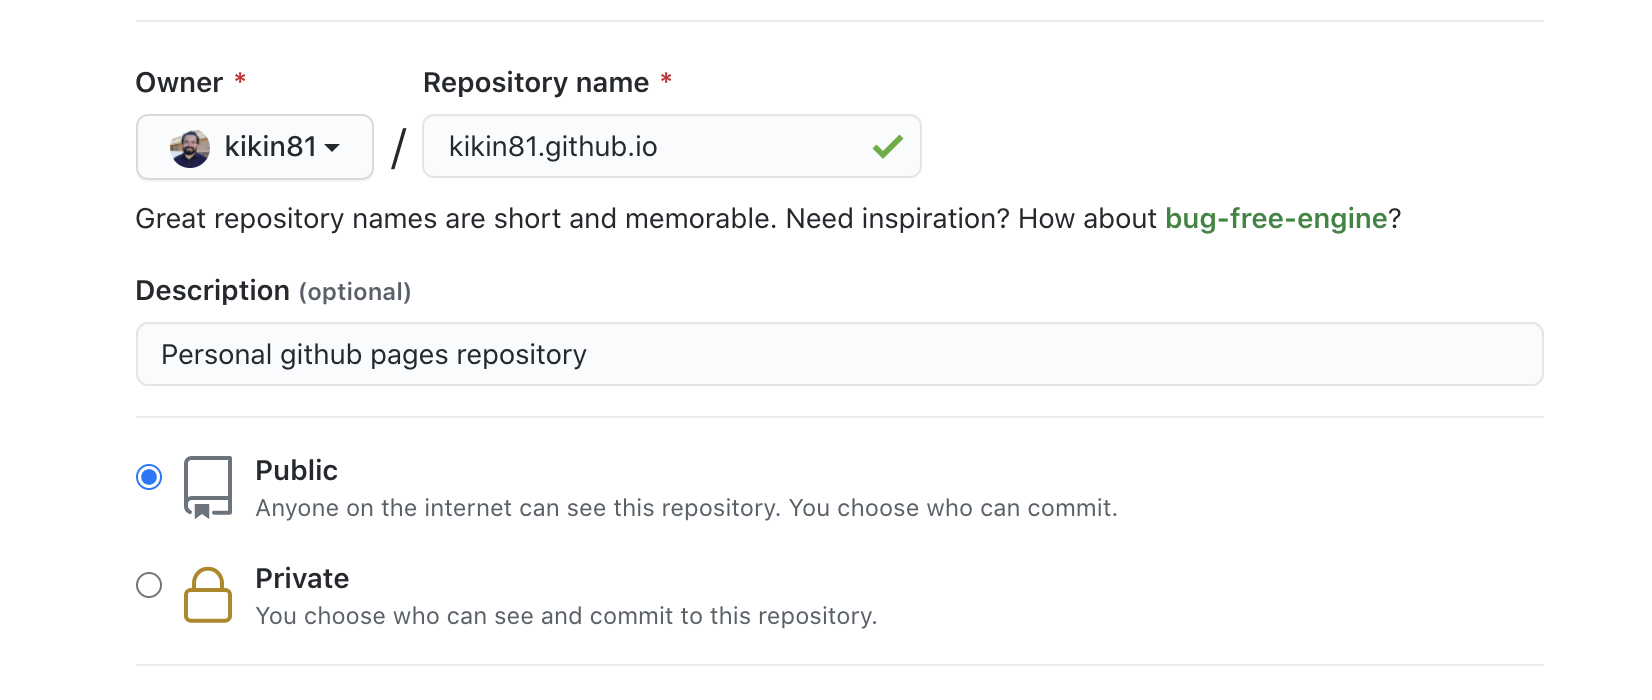
Next you will create a github repository with the naming convention <user>.github.io. Since my github user name is kikin81 my repository name will then be kikin81.github.io. You can choose to keep the repository Private.
Note! The github pages documentation here offers a detailed guide on how to do this step from scratch. Feel free to reference their guide if you get stuck at any point.
Next: Configure repository as github pages
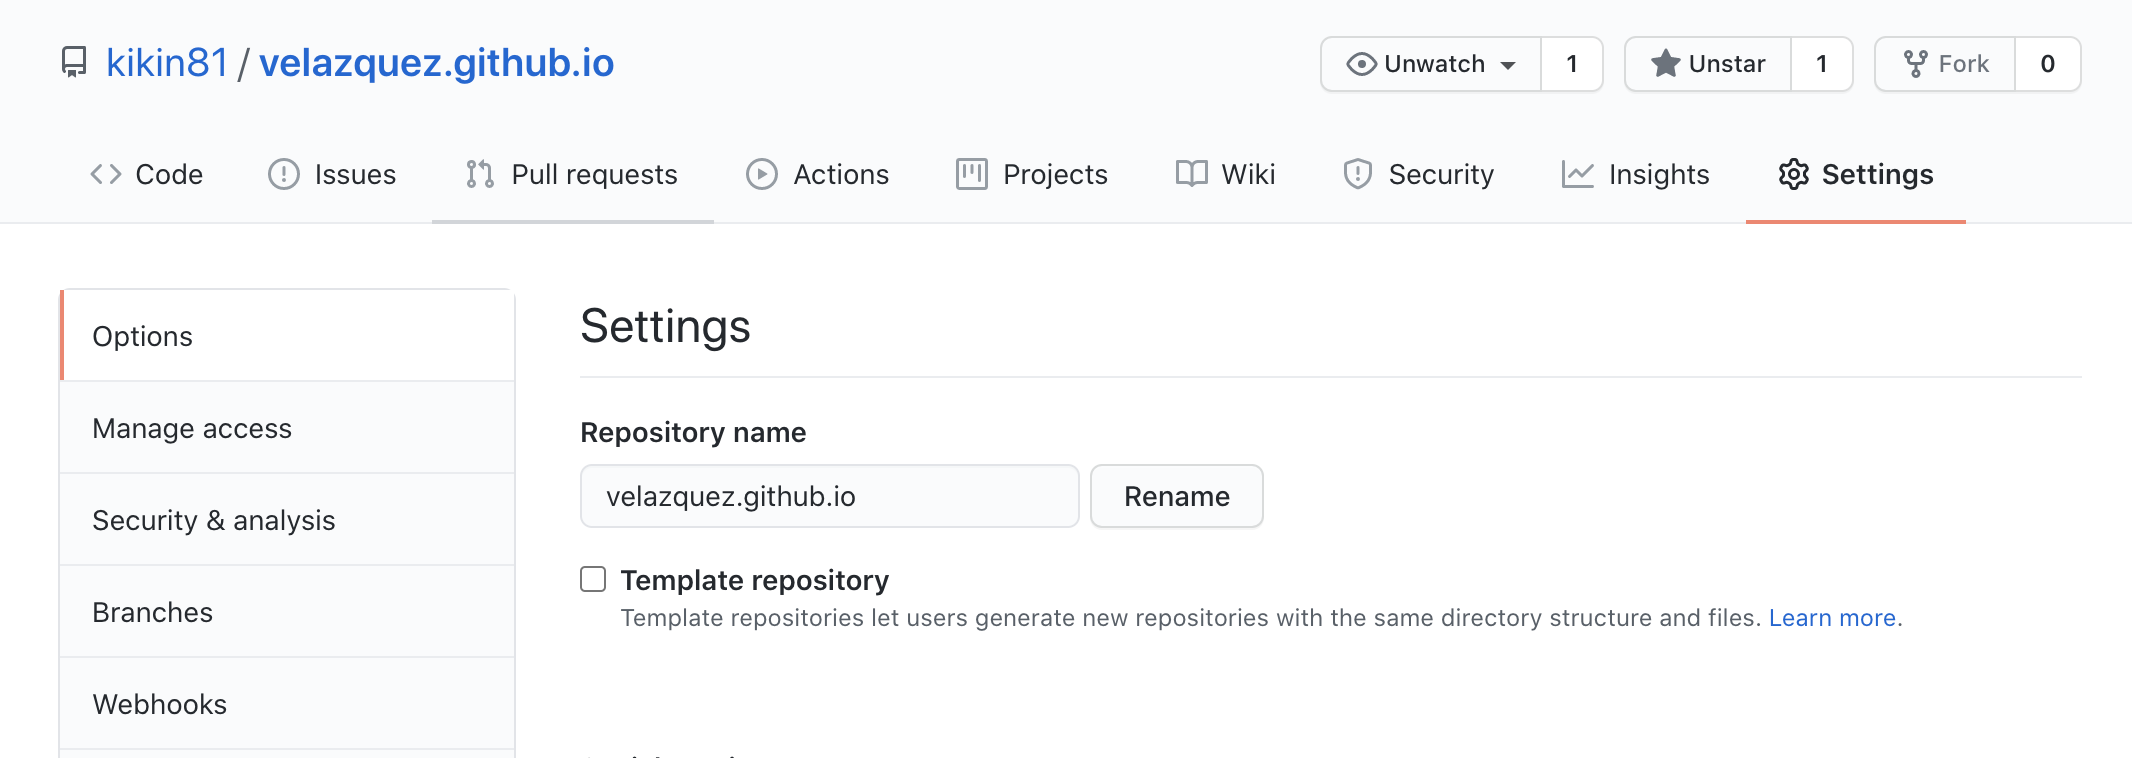
The next step is to navigate to the settings page of our newly created repository and enable github pages functionality.
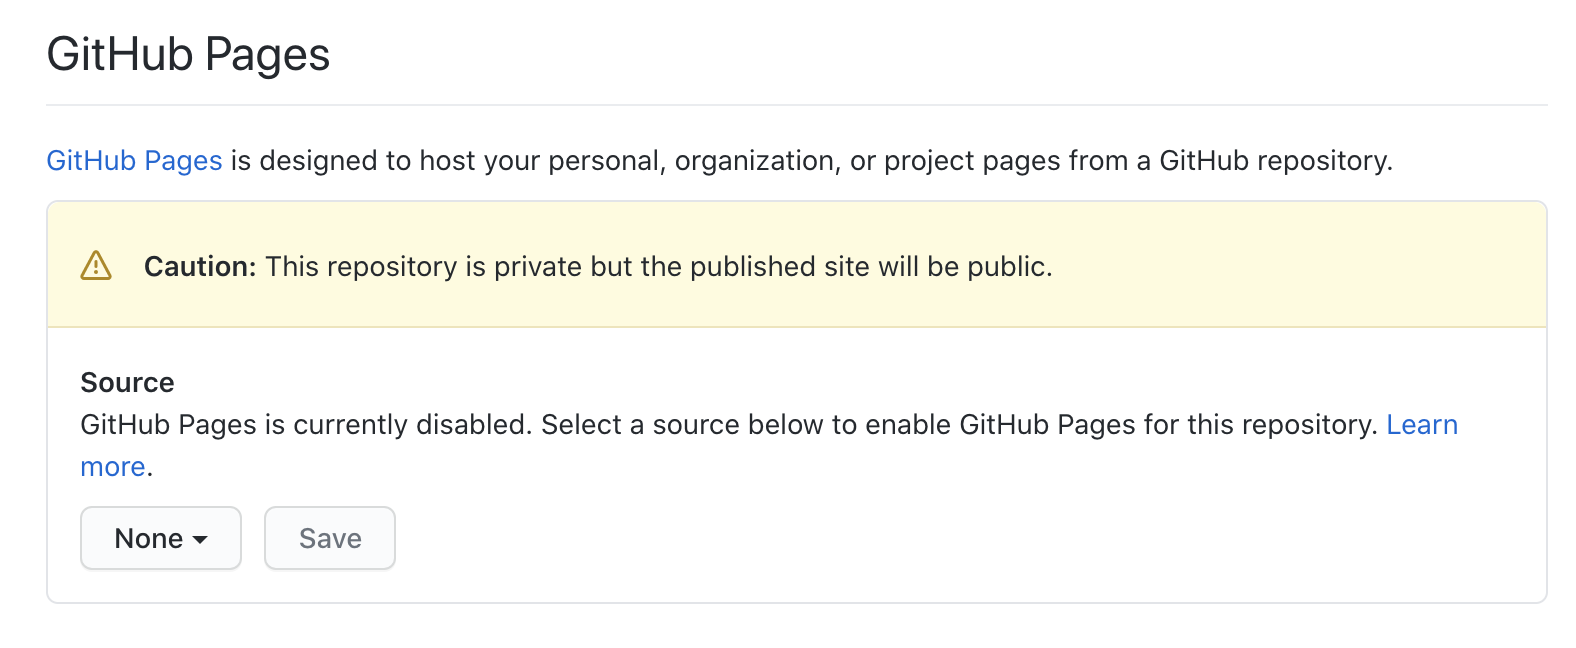
After completing these steps you should see a success message "Your site is ready to be published at https://kikin81.github.io/"!
Configure your site
In this step we will clone the repository and configure a few things.
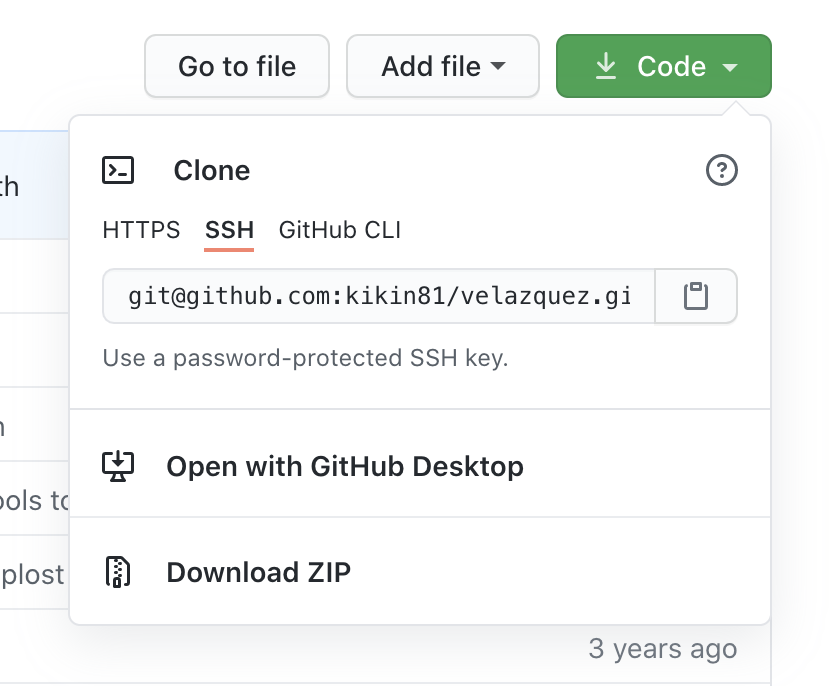
To clone you need to run the following commands in terminal:
1
2
$ git clone <ssh-url-to-repo>
$ cd username.github.io
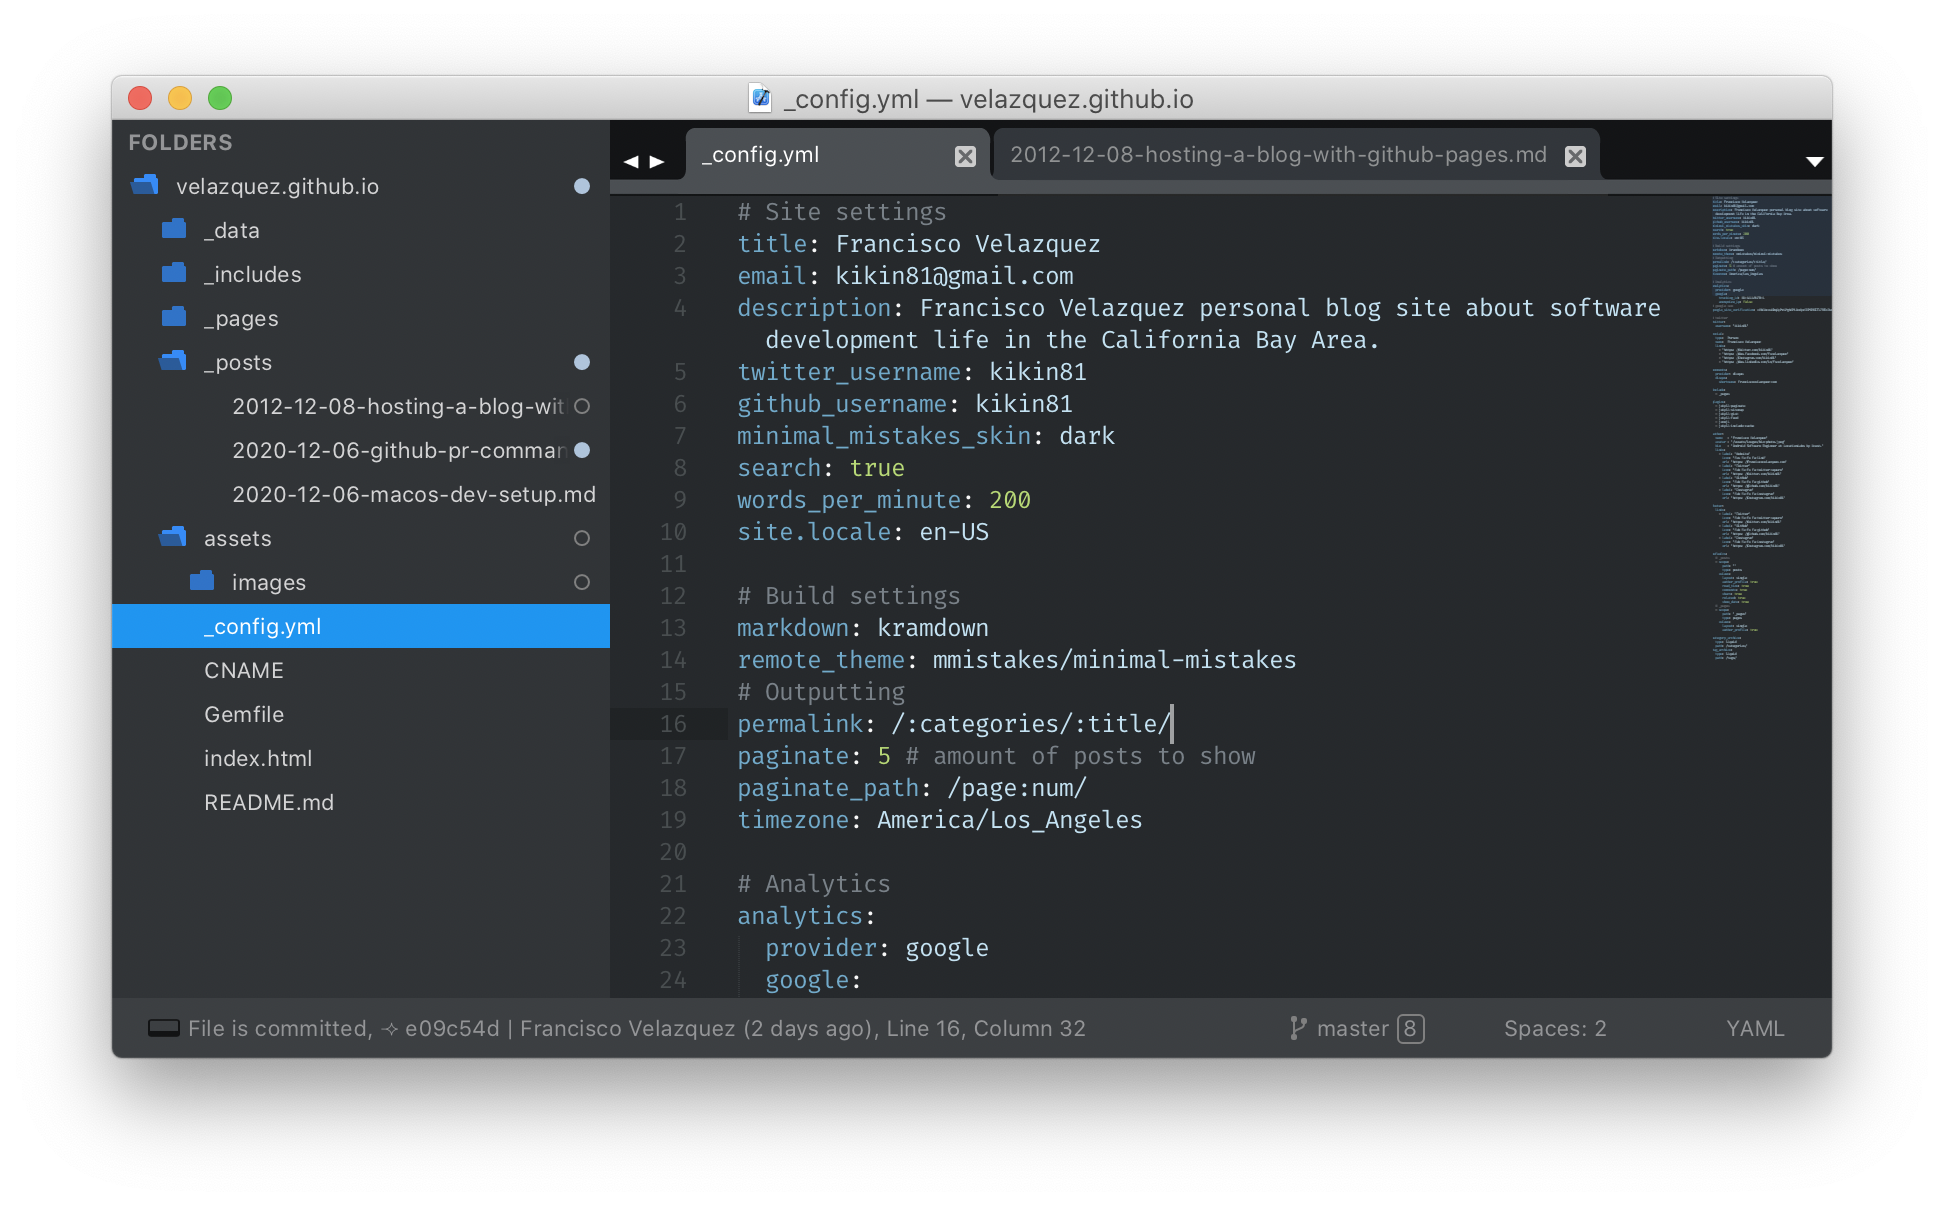
Next you want to edit the _config.yml file with as much detail as possible. Important things to edit are the site title, description, locale and time zone. Personal information that you might want to add is email and twitter user name.
You can also configure google analytics comments and a lot more! For the full list of site configuration settings, please see the documentation here.
You can see that the template came with some blog Posts and About Me page. I recommend you copy those files out so you can reference them later.
Create your first blog post
To create a blog post you need to create a new file in the _posts directory and follow the naming convention:
1
YEAR-MONTH-DAY-title.MARKUP
Where YEAR is a four digit number, MONTH and DAY are both two-digit numbers. MARKUP is the file extension, I personally use .md
Go ahead a create a hello world post:
1
2020-12-08-hello-world.md
Edit the post to include the following:
1
2
3
4
5
6
7
---
title: "Hello world from Jekyll!"
---

# Welcome!

**Hello world**, this is my first jekyll blog post.
Next add all the edited files to version control and push them to master!
1
2
3
$ git add .
$ git commit -am "my first blog post!"
$ git push origin master
Give github a few seconds and you should be able to see your new post live!
Optional: Set a custom domain
If you already own a custom domain like franciscovelazquez.com then you can easily set it to go to your new blog following these steps.
Note! github pages documentation has a detailed guide on configuring custom domain here. Feel free to refer to their guide if you feel lost.
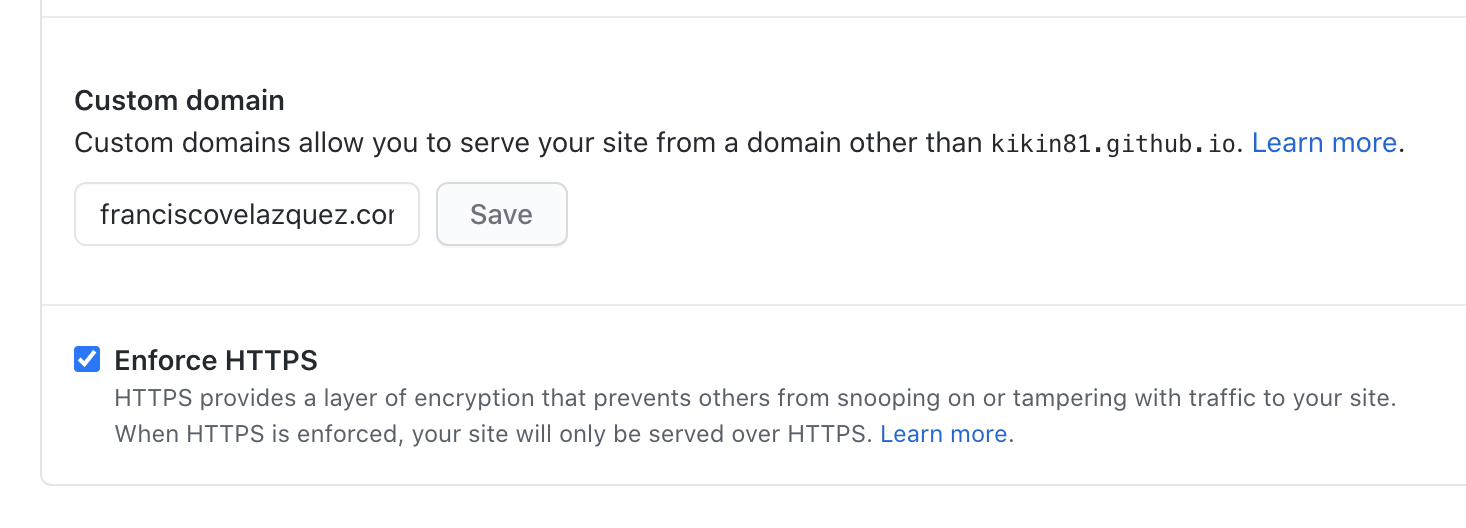
The first step is to go to your github repository settings, scroll down to the GitHub Pages section and set your custom domain there.
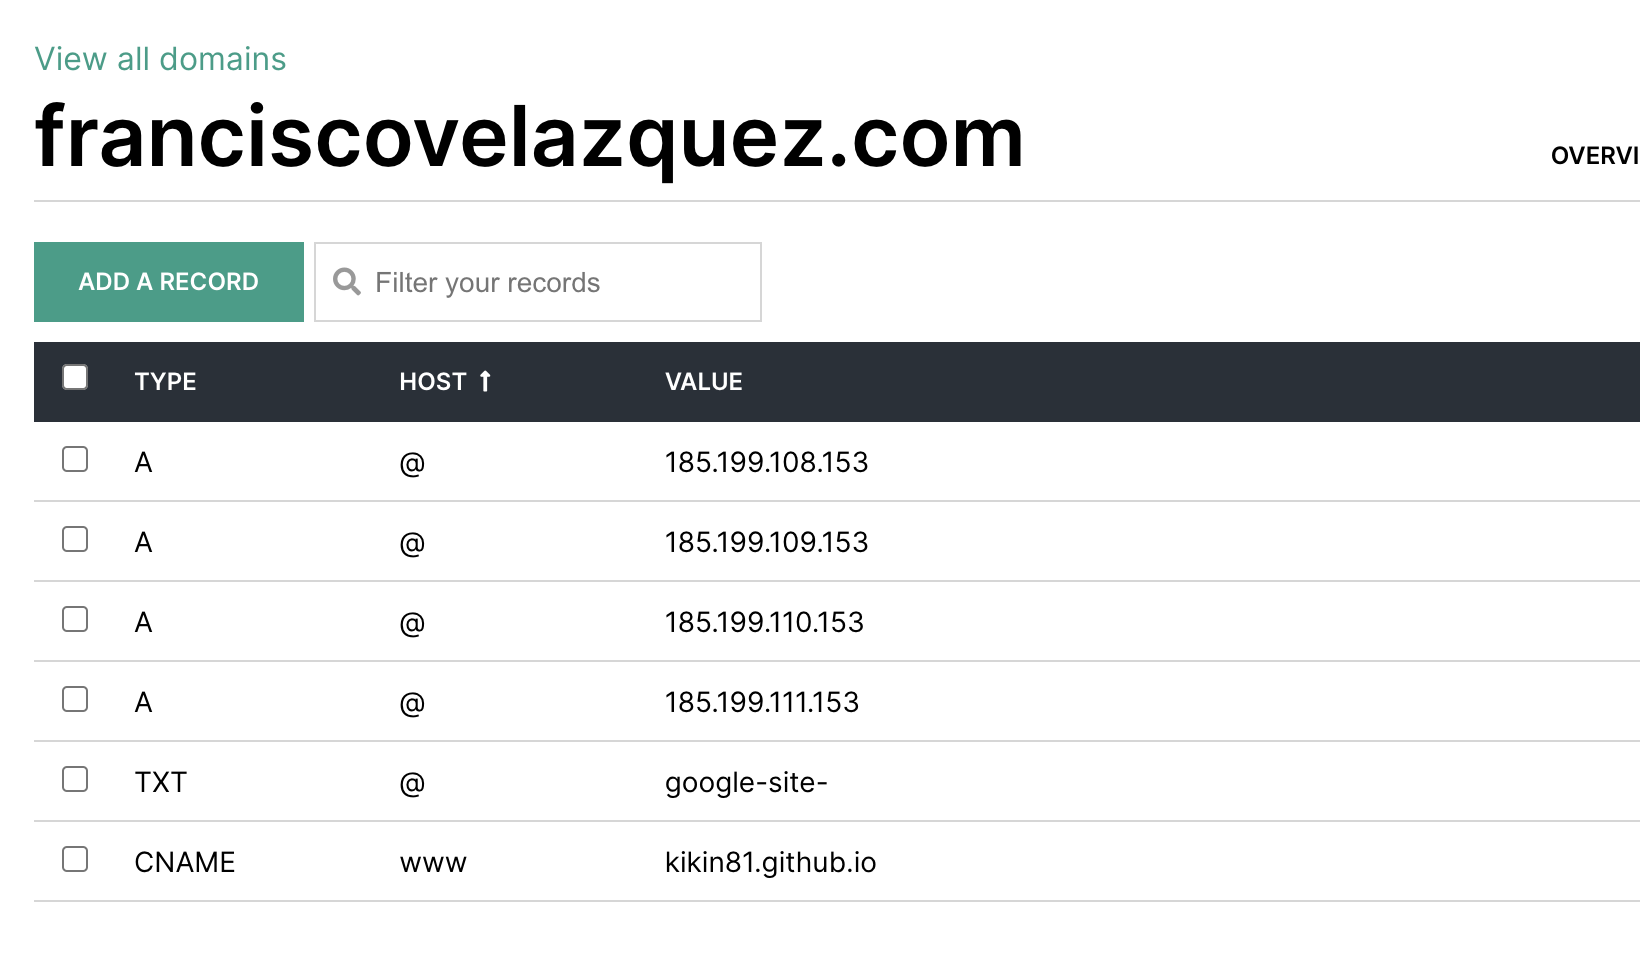
For the next part you will need to go to your domain registrar website and add the following ip address as Type A (see doc for the ip list):
1
2
3
4
185.199.108.153
185.199.109.153
185.199.110.153
185.199.111.153
Finally add a CNAME for your github pages url.
1
CNAME    www    kikin81.github.io
Your settings should look like the following:
Finally create a file named CNAME at the root level of the repository with your domain name like so:
1
franciscovelazquez.com
Commit and push the file
1
2
3
$ git add CNAME
$ git commit -m "Created cname file with domain name"
$ git push origin master
Once you update your domain DNS settings, give it a few minutes and you should be able to access your github pages from your custom domain!
Closing thoughts
Github pages and jekyll offer a simple and free way to host your own personal site.
This guide focused on using the Minimal Mistakes Jekyll theme but there are a lot more themes out there so feel free to explore.
If you have any questions feel free to reach me at @kikin81 on twitter.